Voicemails can be very useful to never miss important news from family, friends, and colleagues, setting up a voicemail may seem confusing. It can be a bit different depending on where you live and what mobile service provider you are using.
Most mobile carriers in the US and GB will have the voicemail option automatically available and ready for setup. However, you may need to send a message to a phone number to activate voicemail in some countries and for certain providers. You can find that phone number on the mobile service provider’s website.
There are also small differences depending on whether you want to set up voicemail on Android or iOS smartphones. In this article, we will learn how to set up voicemail on Android devices. As you will soon see, it isn’t a complicated process:
You don’t need to download any additional apps to set up voicemail. The entire process can be completed just with the Phone app. The interface of the phone app can be slightly different depending on the Android version and the device model, but not so different that we need multiple tutorials.
Step 1: Set up a Voicemail Number
To set a voicemail number you need to find the settings in the Phone app. The app will have a varied appearance and the settings menu can be accessed in different places on the screen. In most cases, it will be found when tapping on the three dots icon.
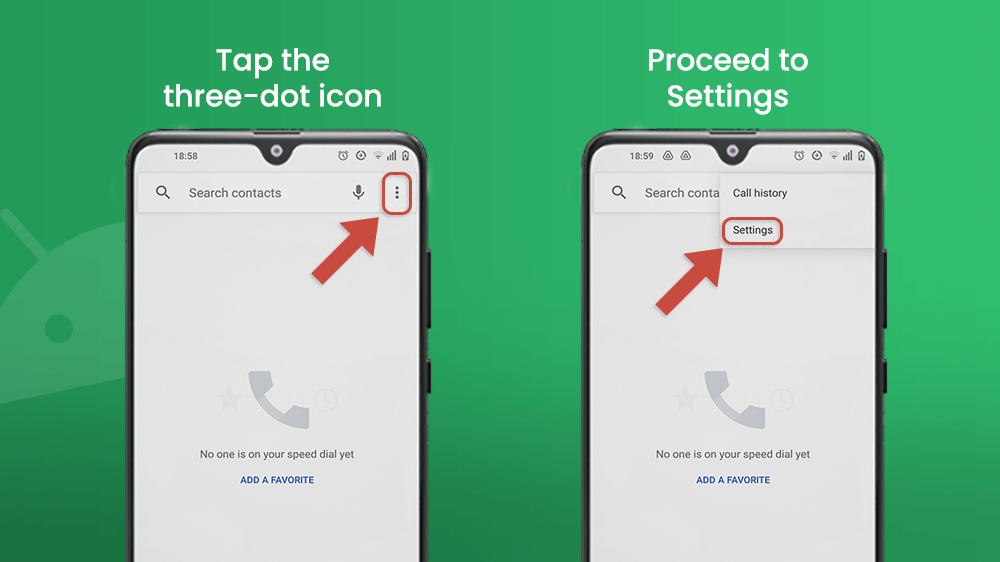
Once inside the Settings menu, find the Voicemail option. In some smartphones it can read as Voicemail Settings or something alike. Then tap Advanced Settings.

Then tap Setup. Tap again on the Voicemail number bar and type in the number for which you want to set up voicemail on Android. Then tap OK.

Step 2: Go to Voicemail
There are a few ways to set up voicemail. You could call your own number, or call the number set by your mobile service provider for voicemails. But the easiest way to set up voicemail on Android, no matter what model you have, is to press and hold one on your phone keypad. It has the voicemail icon on it.

Step 3: Follow Instructions to Set Up Voicemail
An audio guide will walk you through all the steps to complete the setup. Every time you want to confirm an action like finish recording a greeting message or choosing a password, press the hash i.e. pound sign #.
You will probably be asked to type in a password or pin. The predefined password is usually the last four digits of the number you typed in as your voicemail number as previously described. After you type in that password, press the # key. You can change the password later.
During the operator instruction, you will also be able to record a greeting message.
The digits you need to input to perform an action are different from one service provider to the other.
Step 4: Get Notified When You Receive a Voicemail
Always know when you have received a new voicemail by setting notifications.
To find them, go again to the Settings in the Phone App and tap the Voicemail bar. When you flick the switch next to Pop on screen, you will enable notifications for new voicemails to show up as a bar at the top of your screen. It will stay in the Control Center of your device.

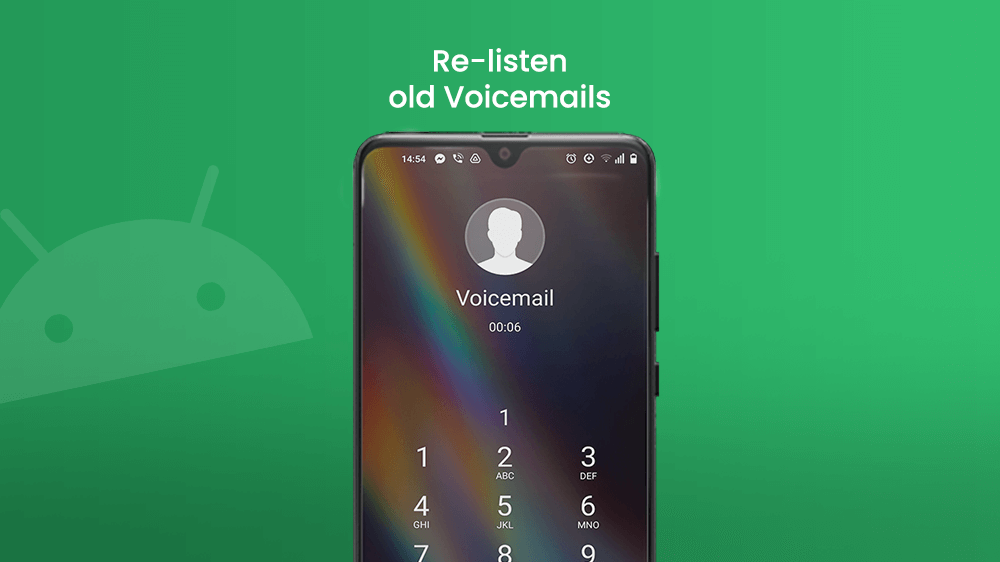
Step 5: Re-listen Old Voicemails
If you want to re-listen to a voicemail, go to the Phone app and press and hold one on the keypad. Then tap one again.
For citizens living in the United States, the Google Voice app is available in the Google Play Store. Unfortunately, the app is not available in other places at the moment, but it seems to be a convenient tool to manage your voicemails.

All voicemails are automatically erased after 30 days. However, you can extend that period for another 30 days by relistening to a saved voicemail. This is the case for the Voicemail service. The Google Voice app allows you full control of your voicemails.
If you want to check your voicemails but you don’t have your device with you at that time, you can do that from someone else’s device. Simply call yourself and wait to be transferred to voicemail. Then press either the pound # or the star * key on the keypad.
You will need to then input your pin number to gain access to your voicemails.
End Note
We hope that with the help of this tutorial you were able to successfully set up voicemails on your Android device.
As we mentioned before, the set up process may differ depending on which country you live in, but the process always starts with pressing and holding the 1 key in the Phone app of your smartphone.
If you wish to learn more about how you can manage your voicemails, the best option would be to contact the customer service center of your mobile carrier.